Hello friends, Today am going to write a tutorial on “How to brighten face using Adobe Photoshop “. We already discussed about removing marks from face. Now we are going to brighten face. Lot of fairness creams are available in market , will they give better result?. Anyway our Photoshop really gives best result. So keep reading and enjoy this tutorial.
( Do the removing marks from face steps before doing these tutorial )
1, Open Adobe Photoshop and load desired image ( am going to make these change on my face)


2, Download skin brushes from here, do you have it already?.
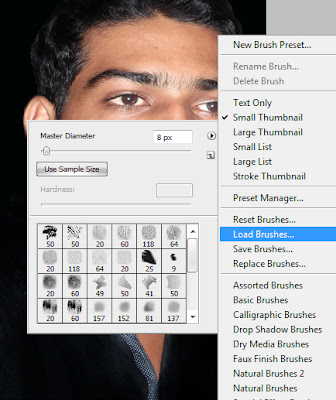
3, Select brush tool , load downloaded brushes and choose suitable one for your image (to load the new brushes , right click on mouse and do as follows )
4, Pick desired colour from your image , using Eye dropper tool. If you are not satisfied with your colour choose one colour code from below

5, create new layer and brush that layer with selected paint. Avoid brushing on hairs and eyes
6, Now your image will look like this ( is it funny J ?)

7, Do you like to make it as good?, yeah let’s do. Decrease the opacity of brushed layer, bring it around 30. Now how is your face? Isn’t brightened?
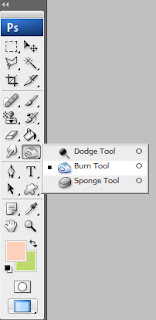
8, Do you wish to darken your hairs , OK select Burn Tool, and apply this tool on your hairs. Right click on mouse to change the diameter of burn tool
Do this method on several images for better experience. Any tutorial on Photoshop need repeated exercise for improving your skill. ok guys lets meet soon with a new post. Till then bye bye…
No comments:
Post a Comment